
Rapid Silicon : Raptor Deep Dive
- Aug 29, 2022
- 2 min read
Updated: Jun 26, 2025
A few weeks ago, we looked at took a high-level view of the open-source tools which are combined to create the Rapid Silicon Raptor tool chain. In this blog we are going to look through the tool and examine the basic flow.
For this blog I will be using an early very early release running on an ubuntu virtual machine, while we can script the follow, I will show the GUI approach in FOEDAG.
The application is small being less than 1.5 GB including the Litex IP library, once installed we can start the GUI from the command line by entering the command raptor.
This will open the FOEDAG GUI which is what we can use to create projects and implement the project flow from RTL to bitstream generation.

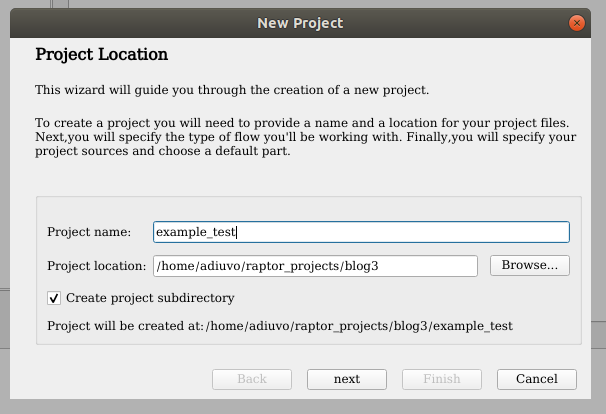
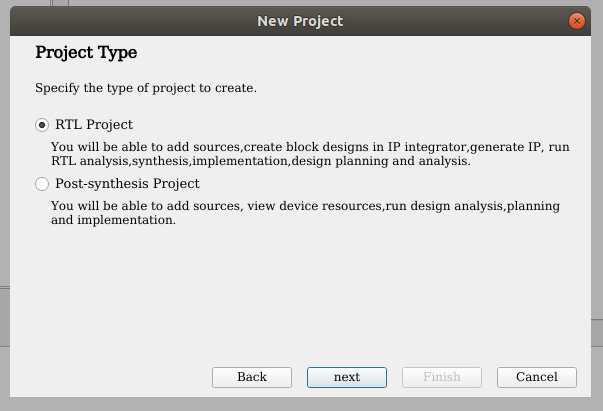
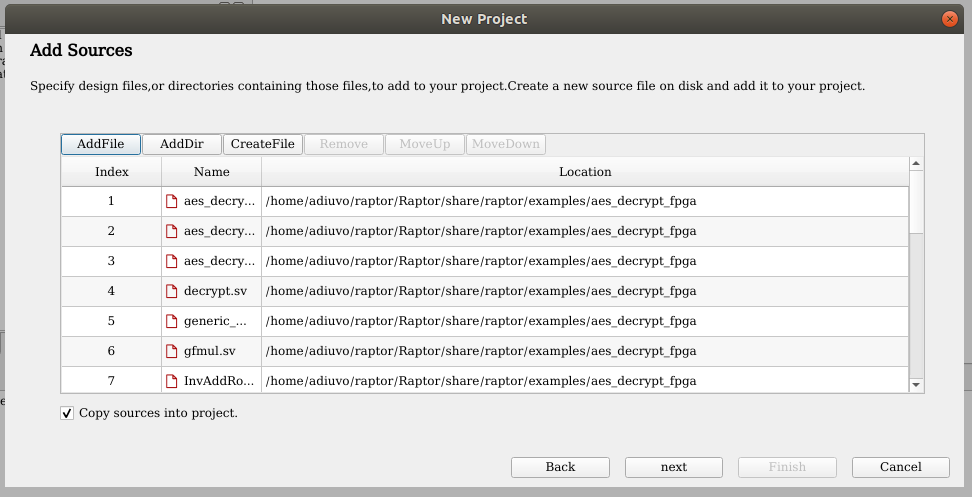
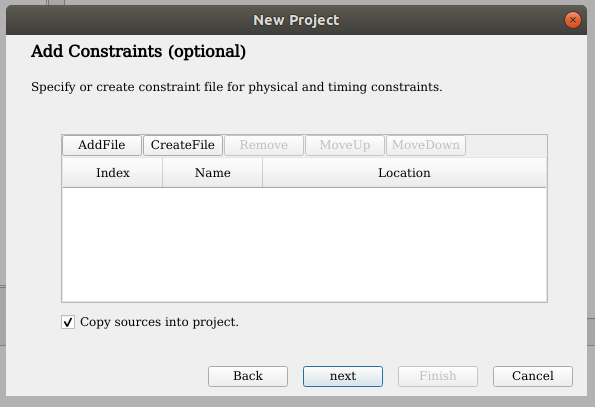
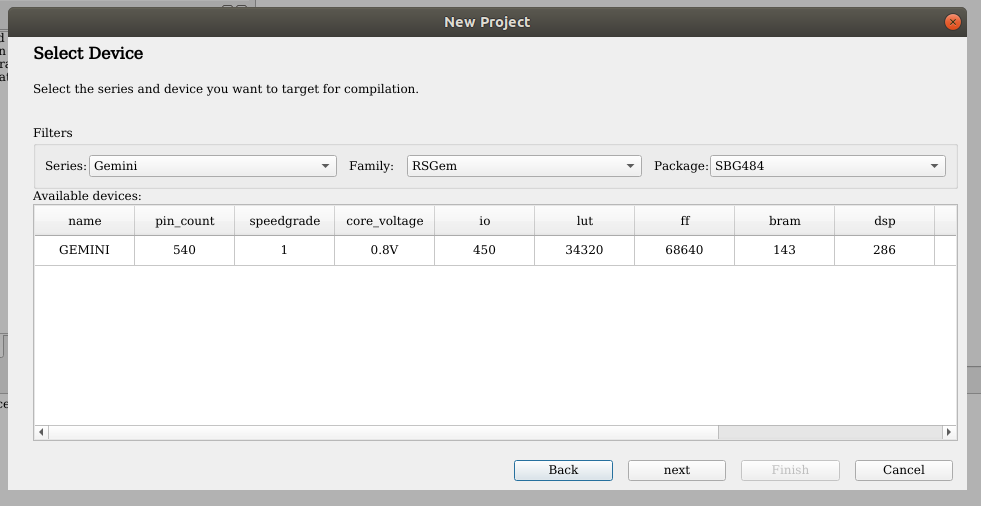
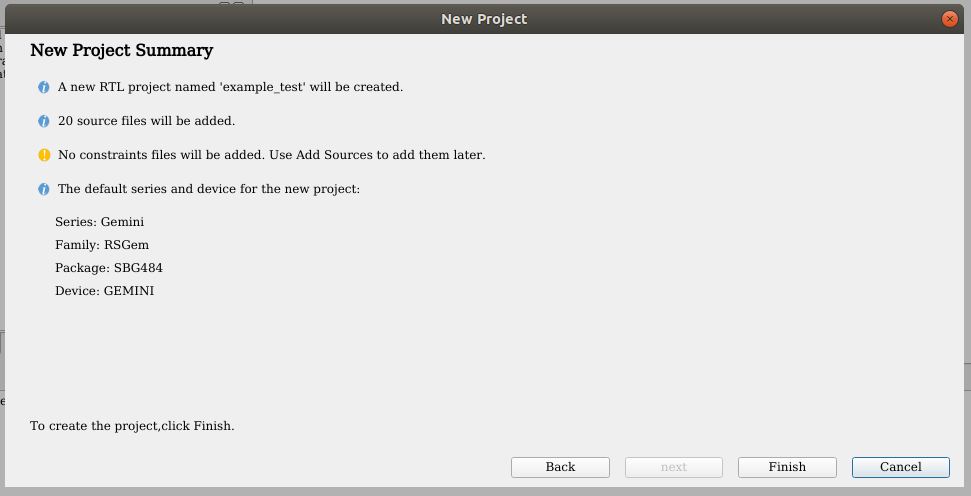
The first step in the process is to create a new project, doing this is straight forward, we can select the project location, add both HDL and Constraint files, along with selecting the targeted device.
For this application I used the AES Decrypt example which is provided as an example application with Raptor.


Once the project is open, we can then look at implementation, by selecting the Task tab on the left. This tab walks us through Synthesis, Placement, Routing and bitstream generation.

As this is an alpha version, the options for placement and routing are limited, but there is ability to control synthesis options such as FSM Encoding, optimisation, and effort.

Running through the design will produce the placed and routed design, with the version of Raptor I am currently working with there is no Bitstream generation.
We can see all of the implementation reports in text format under the project directory.

The result of the Synthesis is reported in the TCL console and can be seen below, a detailed break down of IO, LUT Type, CLB and BRAM usage is reported.
The example file implements an AES Decryption

The output of the Synthesis process is a BILF file which is then used to perform the place and route operation.
Progress through the implementation is straight forward, with clear status reporting shown for each stage of implementation.

As this is pre alpha and in many respects a sneak peak visibility is limited, however once the implementation is completed we can open the floor planed implementation.

In this view we can look for nets, block names, net ID etc. this also shows the structure of the device with the CLB columns arranged between DSP and BRAM columns as I explained in the first blog on the subject.

As the tool is TCL based we can type in help in the TCL console at any point and we will see the list of commands which can be used in the GUI or scripted mode.

From this initial view I have been impressed with the ease of which Raptor could be installed, example project could be open and an implemented design could be created. For the next blog I am going to push Raptor a little and see how it handles working with IP and multiple clocks.
I will also be interested to see at what frequencies we can achieve timing closure on a 16 nm node we should be able to achieve impressive performance.

