
MicroZed Chronicles: Example Designs in Vivado and Vitis
- Aug 4, 2021
- 2 min read
Updated: Jun 27, 2025
Over the years, several blogs and projects have leveraged the Vivado and Vitis ability to generate example projects. One of the most recent examples of this was the creation of the Triple Modular Redundant MicroBlaze solution. This is a solution that comes in very handy for my defence and space clients.
One of the things I have never fully demonstrated, however, is how you can leverage example applications that use both Vivado and Vitis for embedded software solutions.
In this blog, we are going to examine how we can create a Spartan 7 image processing application that uses the MIPI interface to receive images from a Digilent Pcam 5C camera.
Developing a MIPI imaging solution might ordinarily take a little while to implement. However, we can get a system up and running very quickly using this approach.
To get started, create a new project that targets the SP701 board. I am using Vivado 2021.1 for this application

In the new project, create a new block diagram and add in the MIPI CSI2 IP block. Right click on the MIPI CSI2 IP block in IP Integrator and select Open IP Example Design.
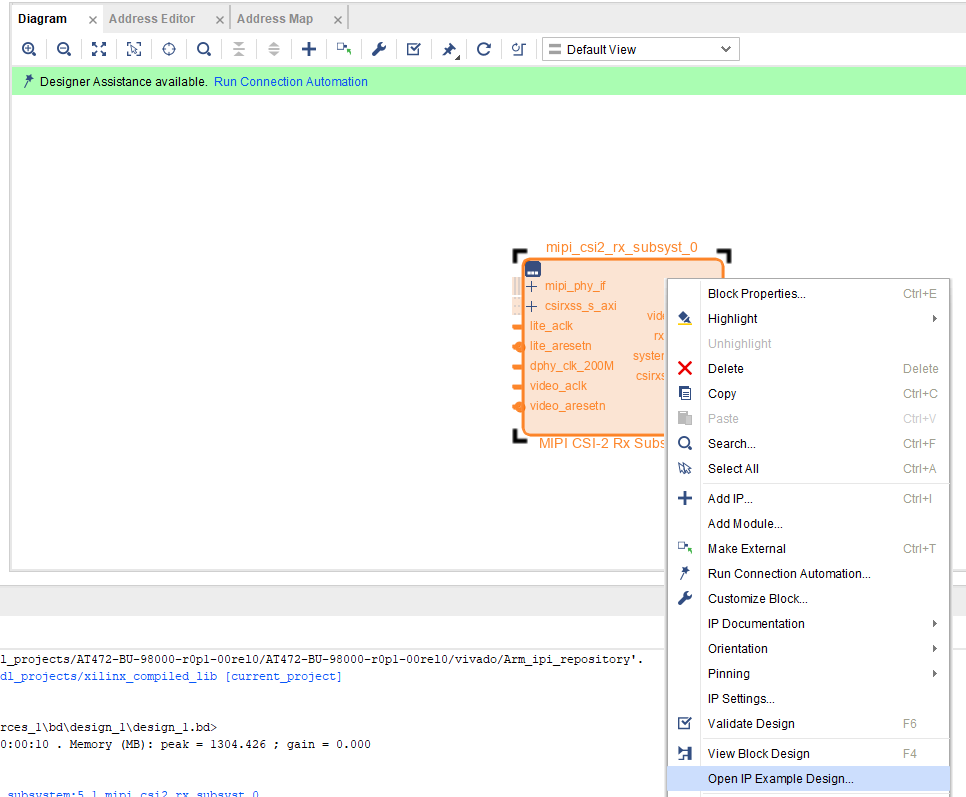
A new Vivado GUI will open and the example project will be available to examine and build the bitstream after a few minutes.

The design implemented can output the MIPI stream to either a HDMI display or a MIPI DSI sink.
Once the bitstream is completed, we can export the XSA with the bit file and open VITIS.

After Vitis opens, select Create Platform Project and use the XSA just exported for the platform definition.

With the platform created, the next step is to click on the Board Support Package description in the SPR file.
This will list all the IP in the design and the drivers. Scroll down until you find the MIPI CSI2 component.

Click on the Import Examples line for the MIPI CSI2 example. Select the xmipi_sp701_example and click OK in the dialog that appears. This will import the application project into the design.

Build the application and connect the SP701 with an appropriate Pcam 5C and HDMI / DSI Sink and we can run the example in the hardware.
We can do this by using the Assistant window. Under the project name, select Debug -> Launch Hardware.

This will configure the Spartan device, download the MicroBlaze application, and pause execution ready for debugging.
I got the following image when I ran the application on my SP701 .

Using the example designs is a very efficient method for creating complex projects that can help speed up your development when working with a development board.


