
MicroZed Chronicles: MicroZed and Back Where We Started (Part 1)
- Jul 22, 2020
- 3 min read
Updated: Aug 5, 2020

When I started this blog nearly seven years ago now (the first one was published 9/30/2013), we developed the solution in Vivado 2013.2.
Following that, we have gone on to examine how we can use Zynq-7000 SoCs, Zynq MPSoCs, and Xilinx 7 Series FPGAs in 354 blogs covering a range of topics and applications, all of which built on the basics introduced in these blogs. Since then, we have seen several iterations of Vivado and the introduction of Vitis. Therefore, I think it is a good idea to recap a little and show the basic flow again but this time using Vivado and Vitis 2020.1.
Of course, it would be wrong to use any other than the namesake board for this so let’s take a look at getting started. If you have a different Zynq-7000 board, the flow and steps apart from the board selection will be identical.
The first thing we need to do is ensure Vivado contains the board settings for our selected board. There are two methods we can use to achieve this. The first is to go to the Avnet GitHub and download the board definition files.

Once this has been downloaded, unzip the folder and copy it into your Vivado installation directory under the following path:
Vivado\2020.1\data\boards\board_files
When you do this, make sure Vivado 2020.1 is closed because the tool will only detect new boards on start up.
The second approach is to use the new XHub Store in Vivado. This enables you to download Tcl scripts, example designs, and some board definitions. Unfortunately, the MicroZed is not one of those, hence the steps above. XHub is important if you are using a different board.
We can launch XHub from the tools menu.

If you see a warning box, click OK. If you want to avoid seeing this again, check Don’t show this dialog again box.

Once the XHub Store opens, select the Boards tab and identify the board you wish to download if you are not working with a MicroZed.

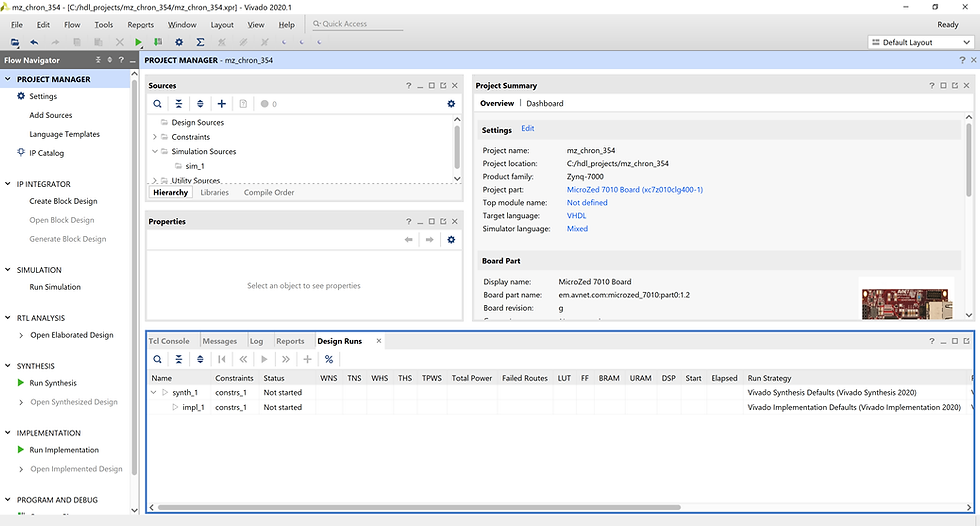
With our boards installed using either a repository or XHub, we are ready to start creating a new project.
From the Vivado welcome page, select Create Project and navigate through the project creation wizard. At this stage we do not have any RTL or Constraints files to add into the project. These will be generated later in the process.


Select the MicroZed 7010 board (or your desired board) and click Next.

You should see a summary of the project settings. Click OK to create the project.

Once the project is created, the next step is to create a new block diagram and include the Zynq processing system.
From the flow navigator on the left-hand side, select Create Block Diagram.
When the Create Block Design dialog pops up, leave the names and locations as default and click OK.

This will create an empty block diagram and we want to add in a Zynq processing system onto this. Click on the Add IP button. In the pop-up box, type Zynq and double click it to add it to the block diagram.

Once this is included in the block diagram, you will see a bar at the top to run the block automation. The block automation will configure the processing system. For the MicroZed this includes the clocking, MIO, and peripheral settings along with DDR settings.

Run the block automation and leave the dialog settings as default.
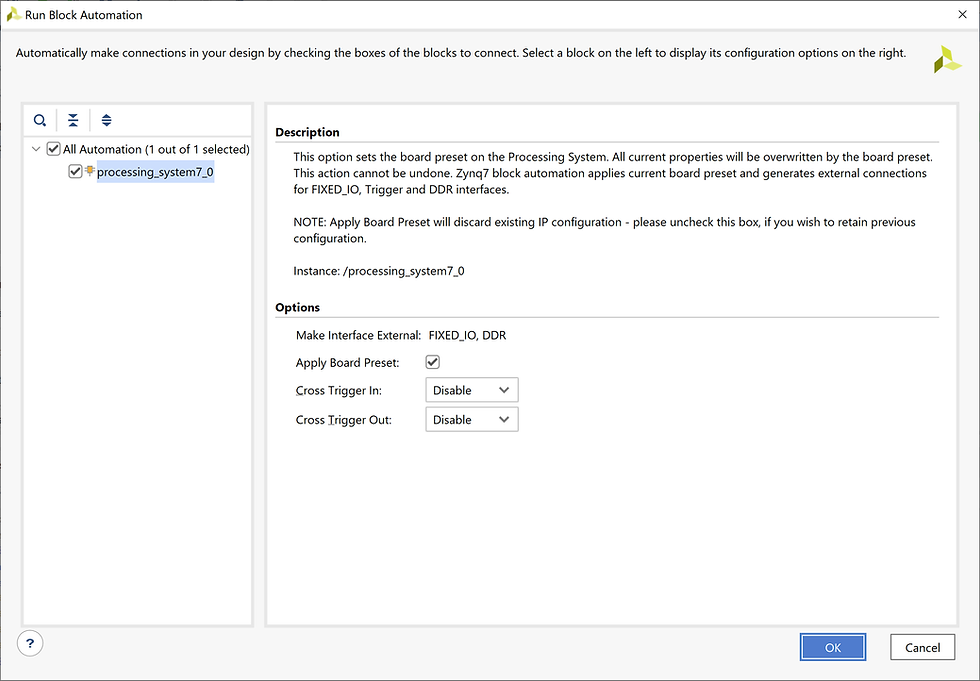
This will update the block diagram to include the DDR and MIO outputs. Now we are ready to generate a BIT file which can be used for our Hello, World! example.

To create the bitstream, we need an HDL wrapper. We can create this by right clicking on the block diagram in the sources window and selecting Create HDL Wrapper.

If you want Vivado to manage the wrapper file, select Ok when prompted.

Now we are in a position to create the bitstream. Click on the Generate Bitstream button and a few minutes later we will see the bitstream has been created.

We are now in a position to export the hardware definition and start creating a simple software application to say Hello, World! We will look at how we do that using Vitis next time.
See My FPGA / SoC Projects: Adam Taylor on Hackster.io
Get the Code: ATaylorCEngFIET (Adam Taylor)


